Code Revisions 9 Stars Forks Embed What would you like to do? Embed Embed this gist in your website. Share Copy sharable link for this gist. Learn more about clone URLs. Download ZIP.
About The Author
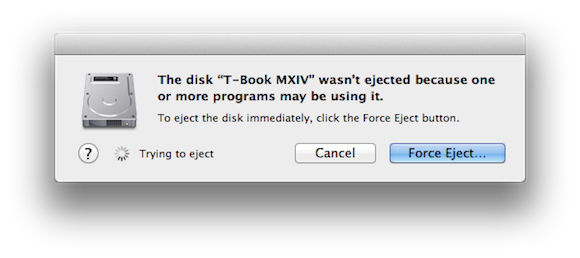
This should unmount all volumes of the physical drive. If still the above method didn't work, then the last option is to force the entire disk to unmount. This will definetely unmount the entire disk and all its related volume.
- How to Mount a Drive from the Command Line on Mac.
- toast pour mac os 10.8.
- 3 Ways to Fix ‘Couldn’t Unmount Disk’ Error!
- We are sorry that this post was not useful for you!.
- macos - Disk Utility won't Unmount HD for formatting - Ask Different.
- speed up mac os x 10.7.5.
- 5 Solutions to "Couldn’t Unmount Disk" Error when Using Disk Utility on Mac - Data Recovery Blog.
Mac OS X Software Update via Terminal To get a list of available software updates, type the following command: softwareupdate -l You will see a list of available updates. You can then install all available software updates with the following command: sudo softwareupdate -iva The use of sudo is required to get superuser privileges to actually install the updates. You can also install only the recommended updates with: sudo softwareupdate -irv Or you can just install specific software updates by specifying the shorthand package name from the previous list, like so: sudo softwareupdate -i iPhoneConfigurationUtility Control Time Machine from the command line Time Machine is a great tool for ensuring that your data is safe, and it's pretty easy to set up and use.
The basics Most people won't need to use this command for their backups because the Time Machine interface will suffice.
Unmount automaticly hard drive mac
For example, to turn Time Machine on or off, you can run these commands: sudo tmutil enable sudo tmutil disable The sudo command is required for many of the commands you issue with tmutil because you need administrative privileges; you'll have to enter your password after running the above commands.
If you want to run a Time Machine backup right away, on a Mac that either has Time Machine disabled, or, say, just before updating to a new version of OS X, you can run this command: tmutil startbackup This is the same as choosing Back Up Now from the Time Machine menu in the menu bar at the top of your screen. And if you ever want to stop a backup, just run this: tmutil stopbackup Save disk space on your laptop Since your laptop isn't always connected to its backup disk, Time Machine retains "local snapshots," or files that it will copy to your backup disk the next time it is available.
You can do so with the following command: sudo tmutil disablelocal Running this command will also delete any local snapshots. You can turn local snapshots back on by running: sudo tmutil enablelocal If you love delving into the nitty-gritty, and especially if you manage remote Macs, you'll find this to be a very useful tool. Exclude files and folders You can exclude certain files and folders from your Time Machine backups from the Time Machine pane in System Preferences. Run this command: sudo tmutil addexclusion The part stands for the path to a file or folder.
Fix for disk erase failed couldn’t unmount disk – St. Ignatius College Prep Tech Blog
Manage remote backups If you're managing a remote Mac, such as a server, you may want to change Time Machine settings for that computer. First, remove the current destination like this: tmutil removedestination In place of , type in the text string returned by the destinationinfo command. You can get a list of all the backups on your Time Machine disk with this command: tmutil listbackups This will show the full path of each backup.
This comment has been minimized. Sign in to view. Copy link Quote reply.
Excellent, thanks! Clean and simple, just the opposite I found at the support site. This is fantastic! Thank you! Sharing this everywhere haha.
5 Solutions to “Couldn’t Unmount Disk” Error when Using Disk Utility on Mac
Sign up for free to join this conversation on GitHub. Since the error was caused by the boot drive being modified, you should try and boot from another drive and run Disk Utility from this. The requirements for the boot drive: it needs to have Disk Utility, it needs to be bootable, and it needs to be separate from the primary drive that contains the Mac OS. Go to First Aid and verify the disk. From here, you can repair the disk if you need to.
If you want to troubleshoot the error that stopped the unmounting process on your disk, you can force unmount the disk using Terminal.
For example type in: diskutil unmountDisk force and then drag and drop your drive. Thank you!
This is excellent advice. Your email address will not be published. Save my name, email, and website in this browser for the next time I comment. Follow Us.